6 Steps of DIY Wall Painting with Cost Saving

When it comes to building houses or renovating houses, everyone wants to cut costs. However, it is not wise to simply cut costs on buying cheap building materials which is poor in quality that eventually will lead to low durability and require more repair work or replacement later which is going to cost more time and money.
Meanwhile, in many stages of construction, there are some jobs that we can completely do it ourself instead of hiring workers to perform the job. This will definitely save us a significant amount of money. Learning how to paint your own house is one of them. This will not only help you save on construction costs, but also granted you a chance to experiment some new colours on your home. Wall painting could be fun also! It is not as difficult as you think if you follow these 6 steps below.
#1 Prepare The Tool & Painting Area
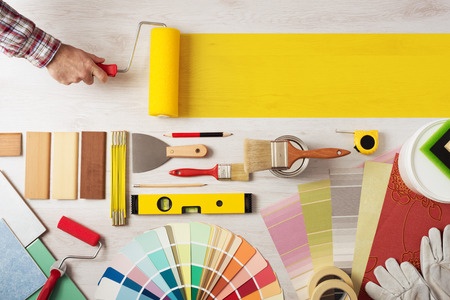
The first step you need to do is to choose the right paint. You can definite your very own favourite style with trend matching colours and Feng Shui elements (if you are into it) among the thousands of paint colours. There are many available brands in the market with extremely rich colour palettes. In addition, these brands also produce many types of paints with special functions such as waterproof, easy-to-clean paint for kitchens, wall paint with glossiness or matt to make the walls of your home more diverse and customise to your needs.
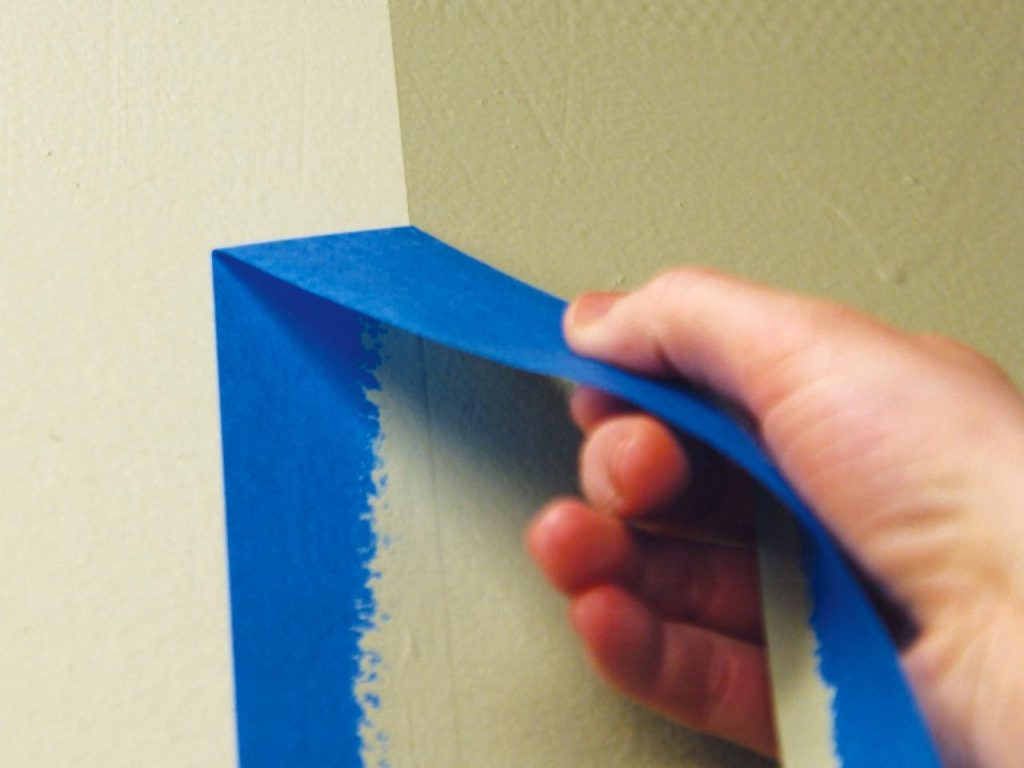
Be careful though, furniture in the room should be moved to avoid getting stained by the paints during painting works. We advise you to put a tarpaulin under the floor to avoid the stain on floor. On the edges, you can apply adhesive tape to the unpainted walls so it would not cross the painting zone. Take note on the power outlets and switches too and make sure they are covered properly.
In addition, you also need to prepare tools such as paint rollers, paint brushes, mixing tanks and scaffolding. Don't forget to wear protective gears like gloves, helmet and glasses.
#2 Handling Old Walls
Before you start to perform painting, do make sure that the wall is confirmed clean and dry.
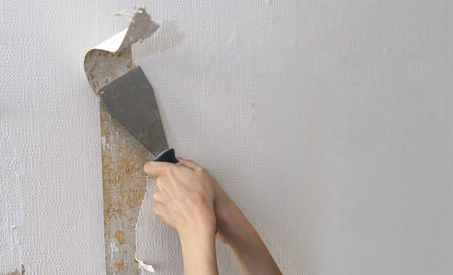
If the wall has old paint on it, you will need to check the adhesion: when the wall has no good adhesion, you must completely remove the old paint before applying the new paint. If the old wall is using wallpaper, you must also remove the wallpaper. Please remember to use sandpaper to clean the glue behind the wallpaper too.
In addition, the ideal moisture content of a wall to best paint is < 16%. Ideally, you should leave the wall dry for 3-4 weeks after painting before switching to another wall paint. The humid days are definitely not an ideal day to conduct wall painting.
#3 Conduct Waterproofing
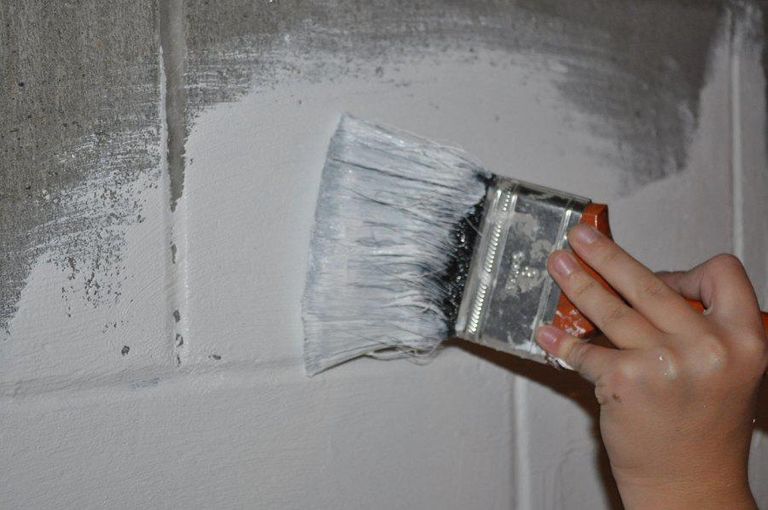
To prevent mould on the wall, waterproofing is a step not to be missed. Use waterproofing paint as the base layer for whichever place that is required.
#4 Roll Paint

Using roll paint is a good idea for large area coverage. The roller layer will make the wall surface more flat, making it easier to paint the walls, save paint and make the paint smoother and glossier. You will be thankful for having this handy tool in mind when doing your paint job.
#5 Primer Paint
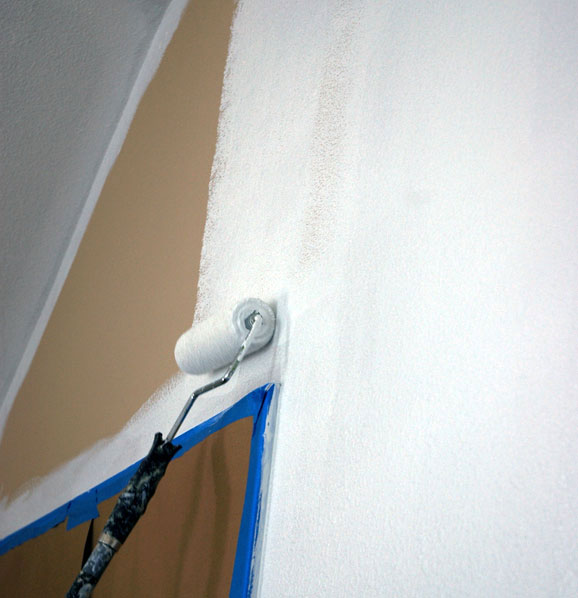
Before painting, the white primer helps to create the foundation for the paint colour, reducing the impact of moisture, alkalinity in the wall on the outer layer. When using paint rollers, you can roll over and over again so that the paths overlap. Pay extra attention to the paint so that the paint does not leave a trace or else it will become uneven and ugly later.
With corners and borders, you can use brushes to make the paint line more accurate and maintaining good aesthetic outcome.
#6 Paint Coating

The last layer is colour paint. For the most beautiful and accurate colour, you can paint 1-2 layers, using the same technique as when painting the white lining. The time interval between each paint is about 1-2 hours. If the paint is smooth, flat, the colour is correct, congratulation! You have succeeded in this self-painting process.