Texture Paint
Here’s How You Achieve Texture Paint on Your Wall or Ceiling
Goodbye plain and ordinary, hello creative textured details!
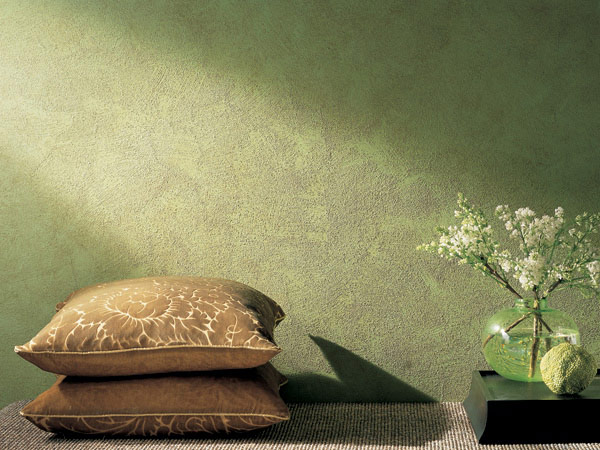
Paint is available in all types of colour schemes - egg shell, primrose, champagne, apricot, lavender, pearl grey, soft sage, avocado dip, candy pink, salmon, you name it! Okay, these actually sound like a list of fancy appetizers so please excuse us while we drool for a little while.
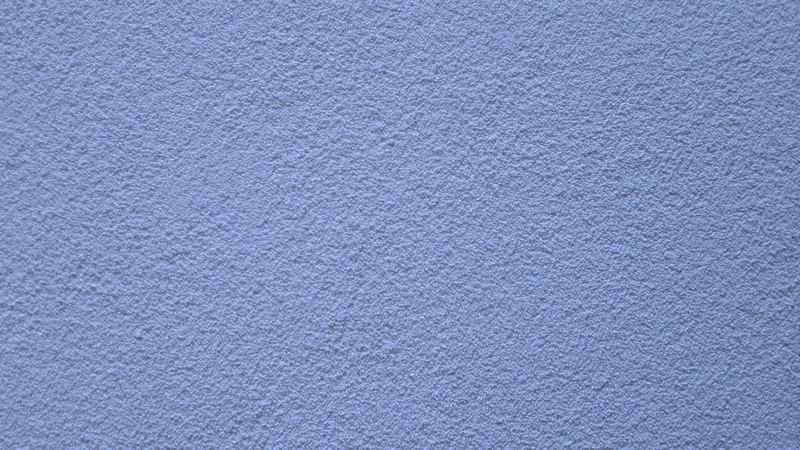
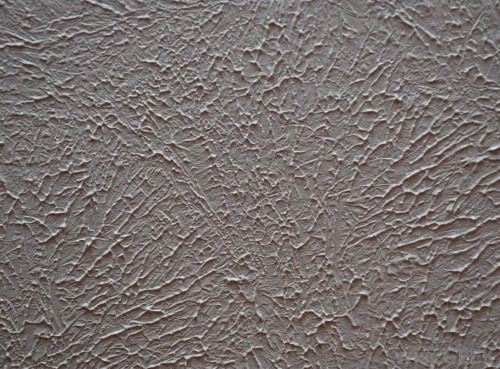
Anyway, back to the point. Paint is most fitting for any kind of room but if you prefer a more personalised touch, texture paint may just be your best bet. Texture paint can be applied to walls and ceilings, ranging from finer details to a coarser effect. Although it can be used for walls and ceilings, sometimes certain patterns are suitable for only either one. So, before you decide on a texture paint pattern, be sure to choose wisely.
Adding texture paint to a surface is a breeze. Taken from an article found at HomeDepot.com, “Texturing a wall is an easy DIY project that can be easily done using pre-textured paints, mixing additives into standard paint or using specific painting techniques”. Not only is it easy, it can be a fun project to decorate your space too!
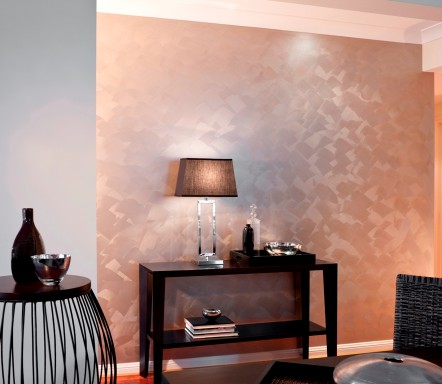
The various types of texture paint include:
- Smooth - Does not scream and shout as it is light and possesses a delicate effect.
- Powdered - If you want to apply texture paint that is able to withstand harsh weather conditions, this is definitely something worth exploring.
- Spray - Applying texture to ceilings can be pretty tricky. Using a spray gun does not only make it easier to apply, but certainly more cost-effective as well.
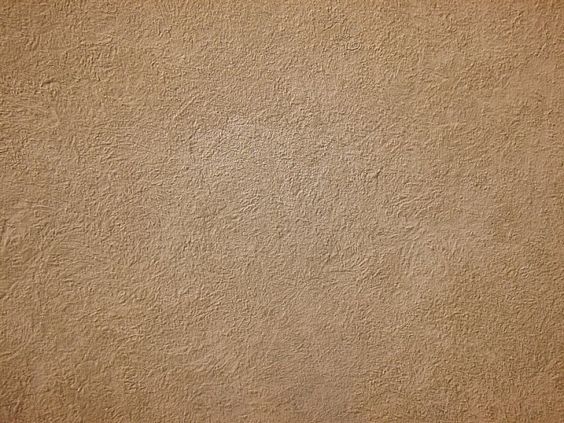
- Sand - Great for both walls and ceilings! This is an example of coarse texture paint, as it adds a sandy consistency to a surface.
- Popcorn - More commonly used for ceilings, popcorn texture can effectively lower the intensity of sounds surrounding a room.
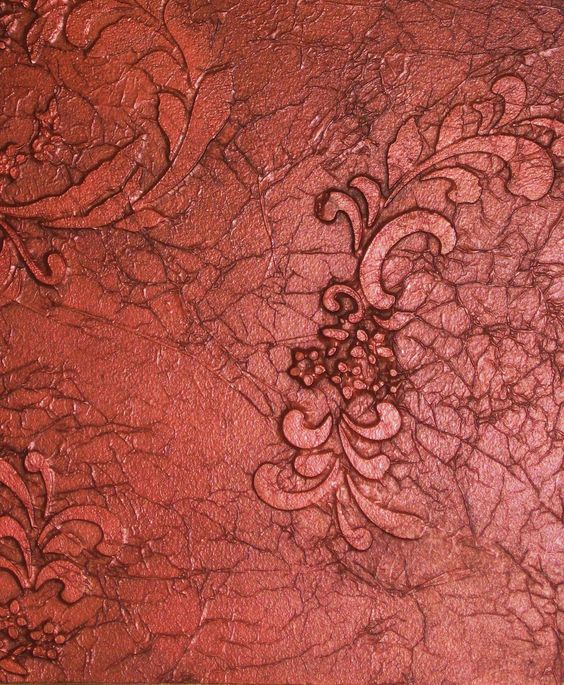
- Faux Finish - Manually adds textures in order to create a unique look by using common objects such as sponge, plastic, comb, etc.
Now, if you are planning to apply texture paint throughout your space, here are some tips and tricks that will assist you in achieving your desired texture paint look.
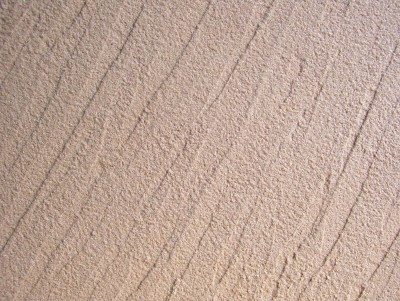
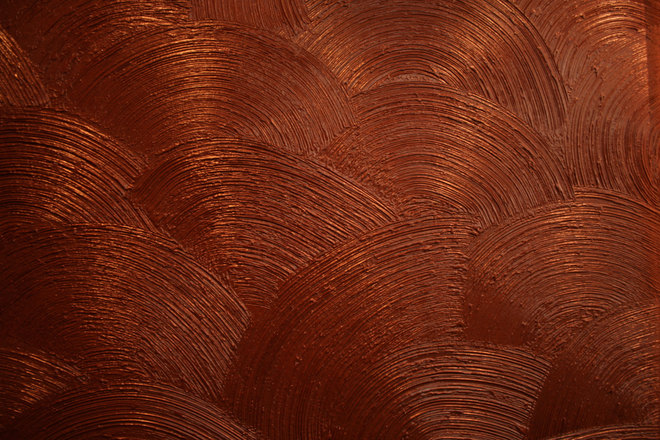
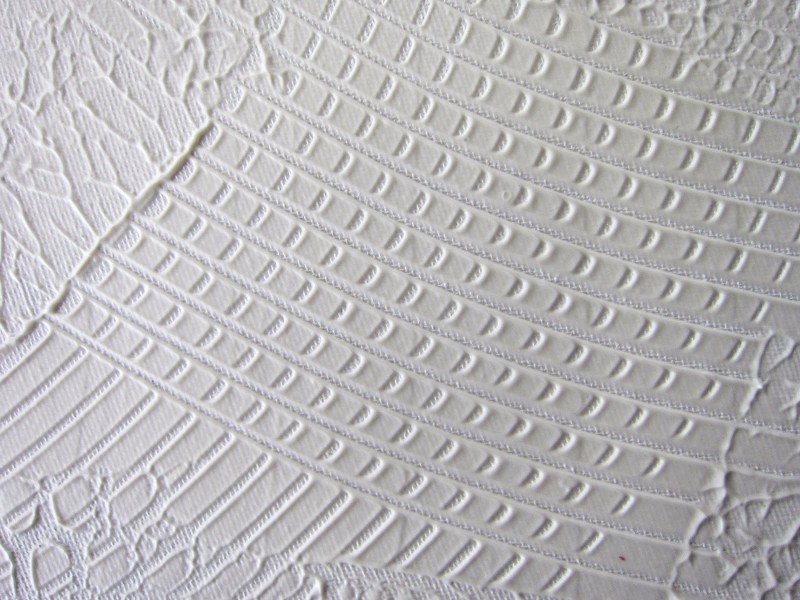
- Combing Fun - With a comb, you can create patterns such as lines, checkers, zig zags, swirls, weave, and more.
- Woody Ways – Love the look of artificial wood? The wood graining process will help you get the complete rustic appearance.
- Wanna Smoosh? - This produces a marble pattern when you place a plastic sheet against a wet painted wall and freely create your own marble effect.
- Sponge Up - Dab paint soaked sponges on any surface you want in order to produce random patterns according to your liking.
- Rag and Roll - For a fabric texture outcome, try rag rolling. Just dip a rag into the paint and unleash your creativity by rolling the rag all over a particular surface.
If you long to accomplish your desired texture paint look, we hope these handy tips were helpful. Here is a friendly reminder though - always remember to remove the original texture of the surface you want to use before applying a new layer of texture paint. Better to be safe than sorry, try sampling your techniques first until you get the perfect result.
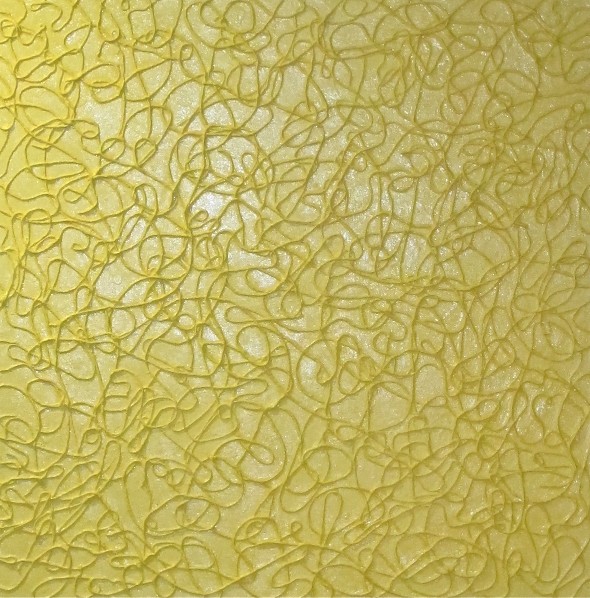
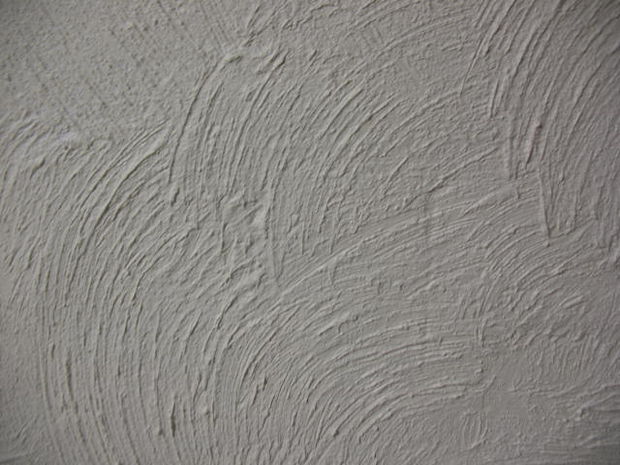
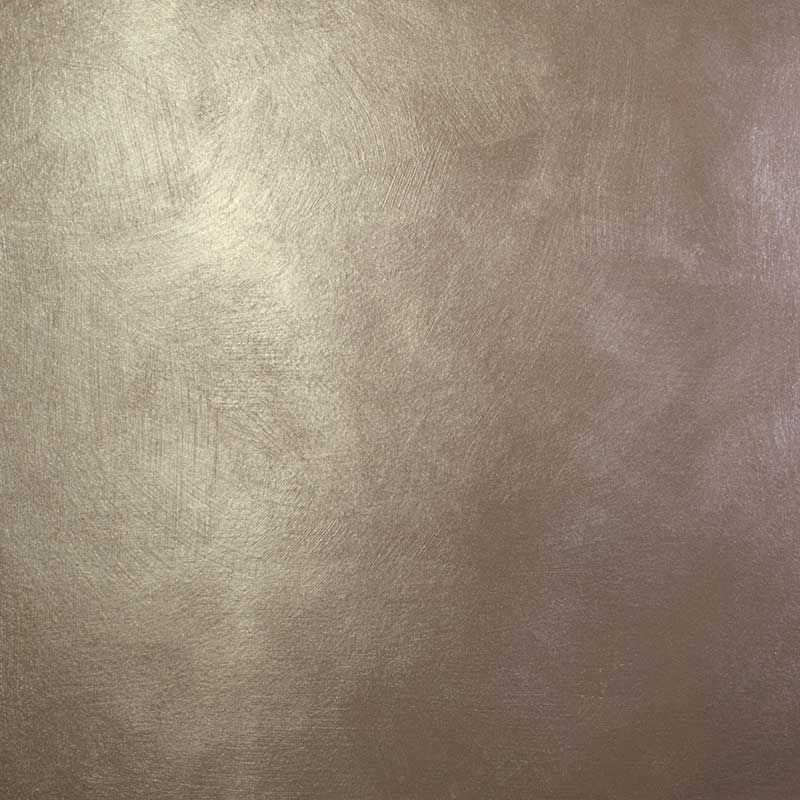
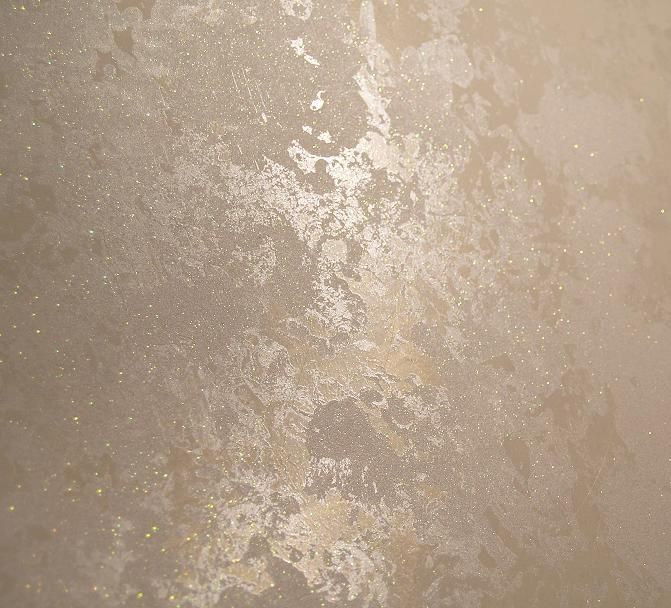
So, what are you waiting for? On your mark, get set, DIY! Here are some examples to get you started.
